Tuesday, December 3, 2013


RESIDENTIAL DESIGN/ 7

WEEK SEVEN:

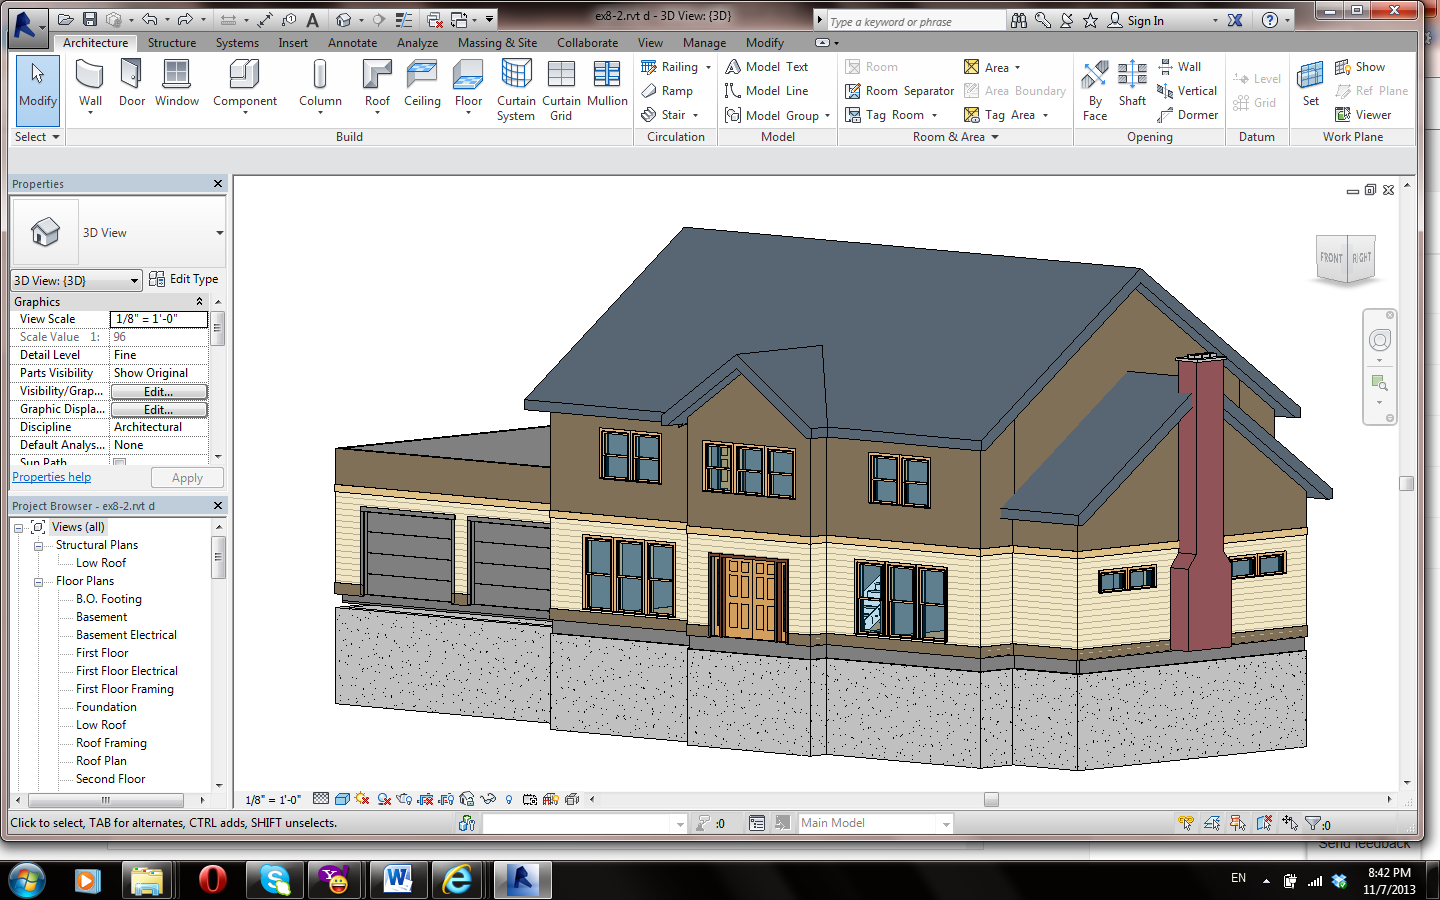
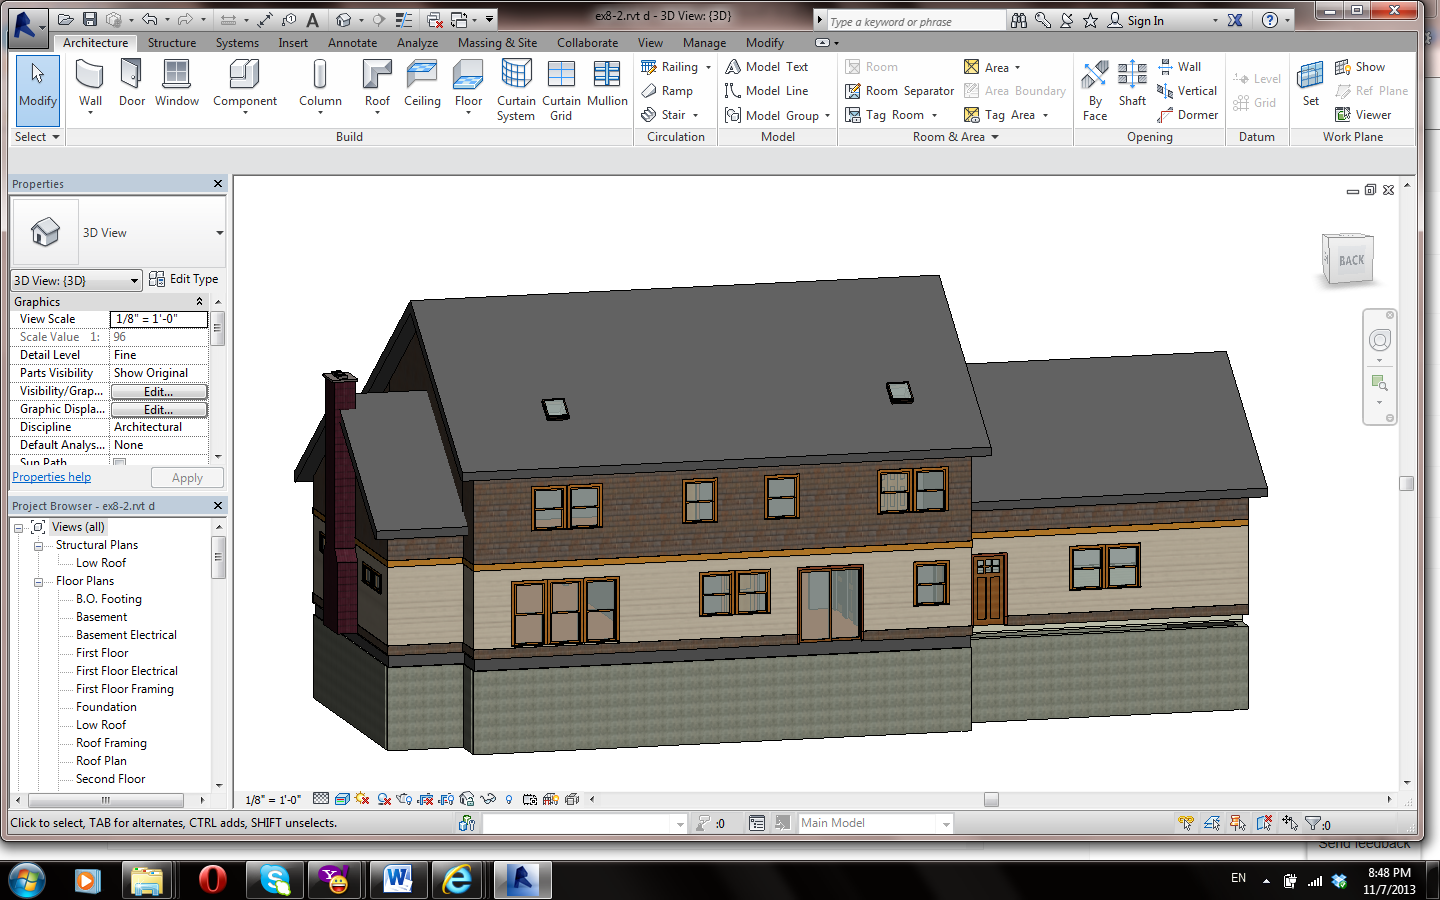
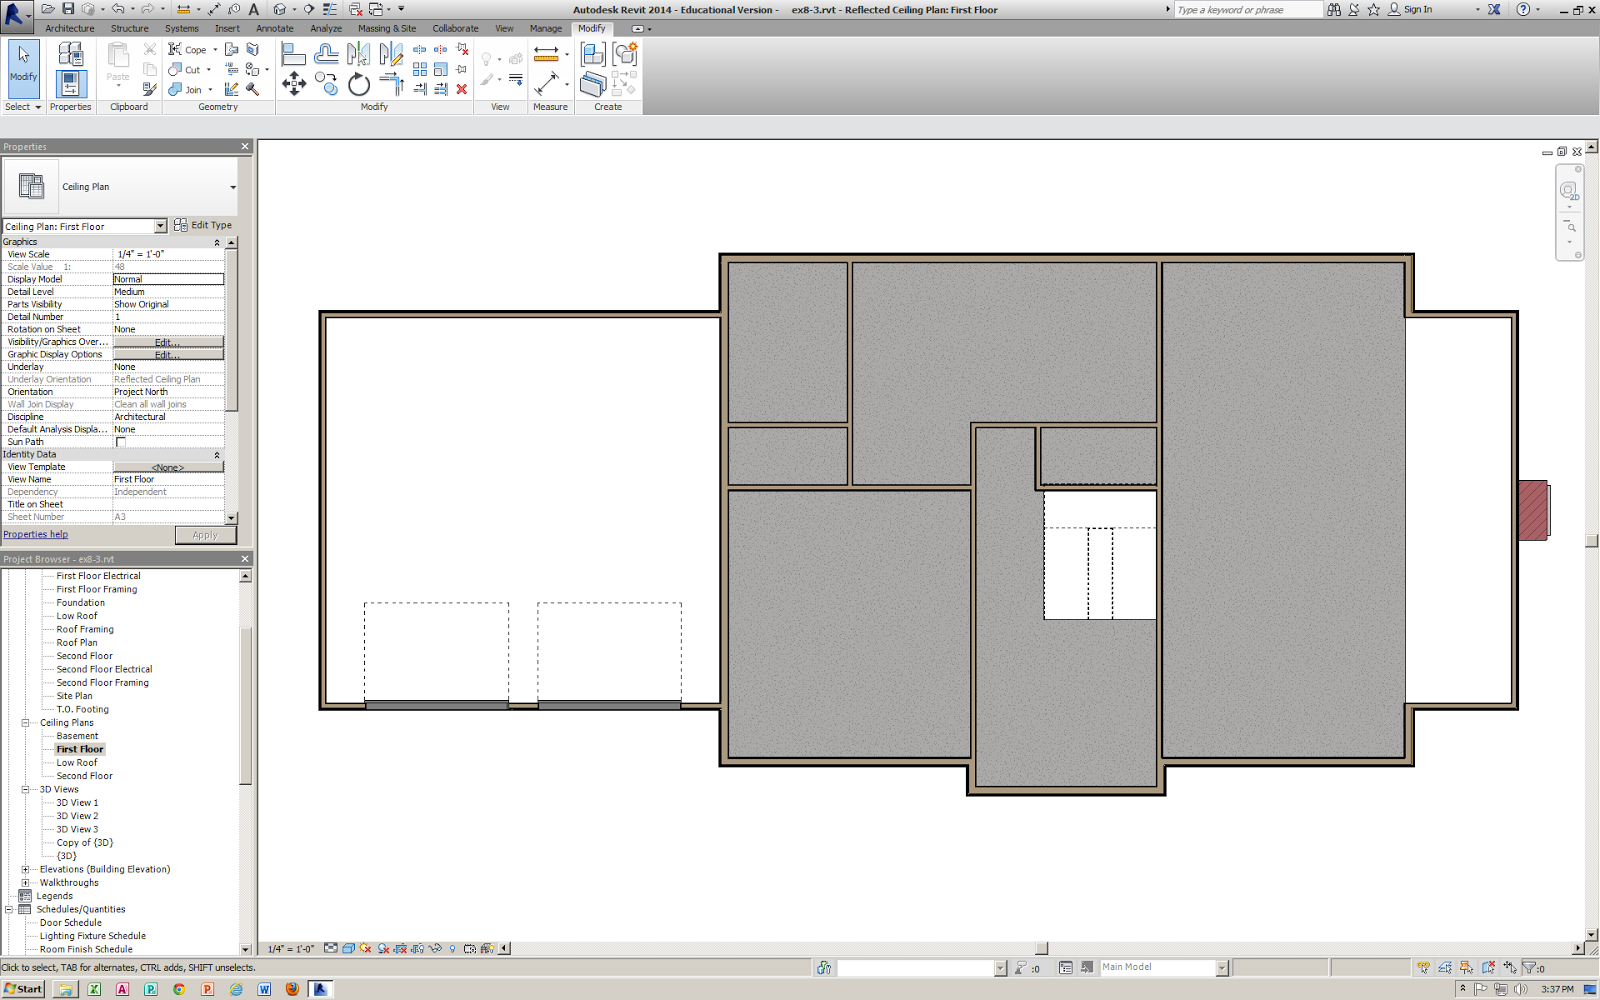
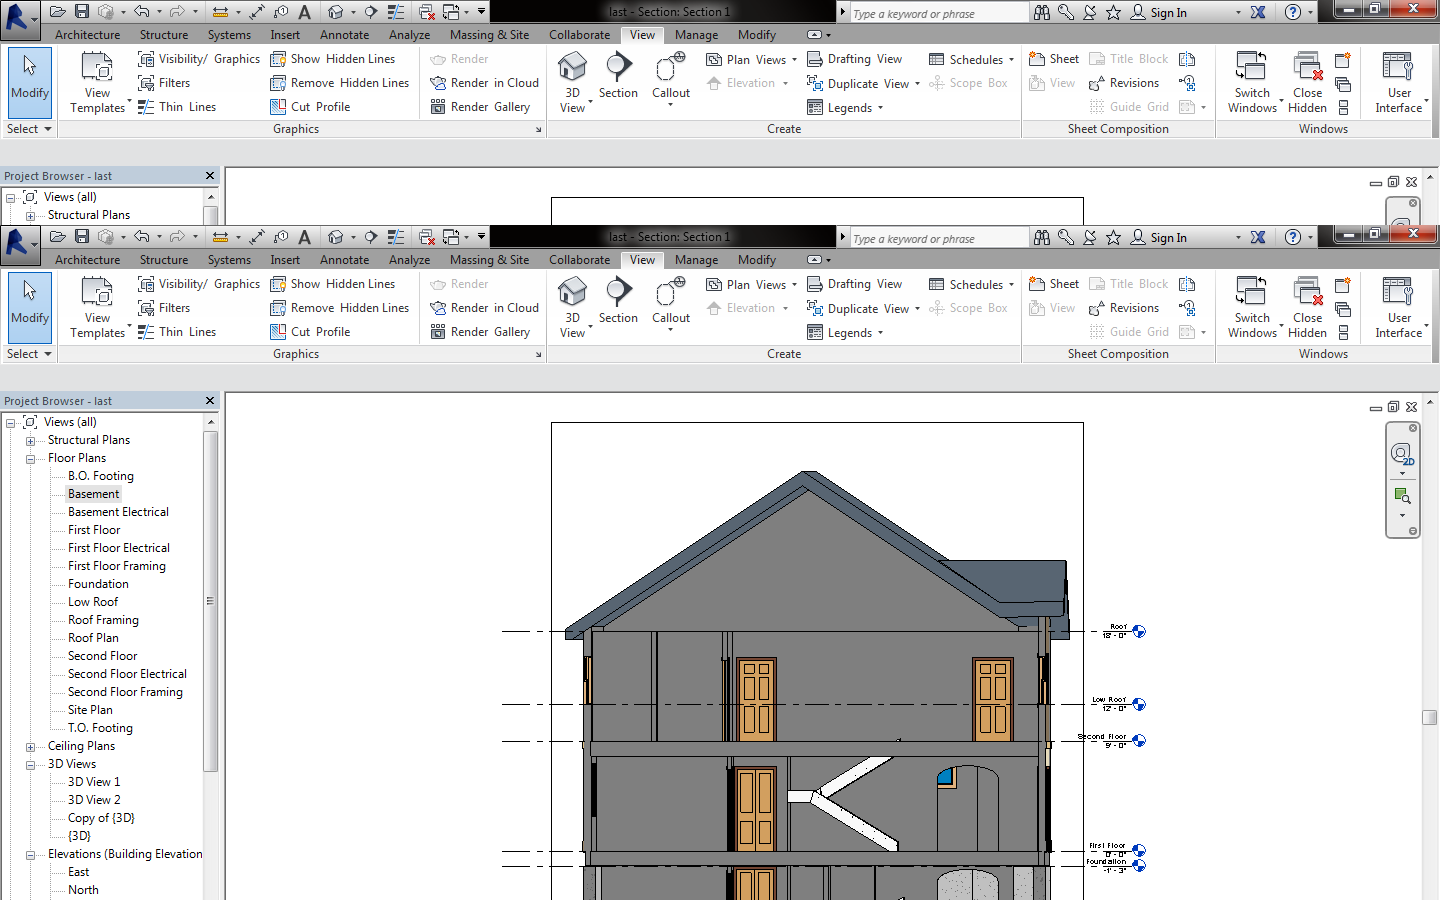
Today I completed the drawing of my project to draw house, by using Autodesk Revit 2014 and according the “Residential Design Using Autodesk Revit 2014” book, by Daniel John Stine CSI, CDT, and under supervision of the great instructor Dr. Mireles.

I am very glad that I learn such material needs high skills of using computer scince, physics, mathematics and engineering since. Also, it needs art creativity and patience.
 

I appreciate the assistance of; Dr. Dorr, Dr. Mireles, and my friends Cristina Gaboldon and Sergio Galarza who helped me in my project.

My sincere appreciation is to Stem Scholarship Program.

My sincere thanks to Ms. Music for her help and thoughtfulness

 I especially appreciate Dr. Amanda Chapman, for her consideration and assistance. I would thank her for her encouragement and her support.

Next semester I hope that I will do another amazing project.

Sunday, November 17, 2013

Residential Design Using Autodesk Revit 2014/ 6
Week six


The working this was very tough and the same time it was amazing. I worked with the Sections and Interior design.


Sections:


With Revit’s philosophy of changing everything anywhere, I can select the section mark in the section view and adjust its various properties. So, I put section marks in the plan view out the building perimeter to see everything inside the building. Then, with the longitudinal sections opened, I adjust the drawing.


In sections, I modified the doors, the stair, the ceiling, and added the strip footing below the foundation wall. Also, with wall sections, I set up the exterior walls and garage wall.


Interior design:


In interior design I will explore some interior element of floor, such as toilet room layout, kitchen cabinet, and placing furniture.


At first, I draw the three bathroom layouts; involve placing toilets, tub, sink, and the mirror.


After that, I started to add kitchen cabinets and appliances to my project. I placed all the cabinets in the kitchen and now working to place wall cabinets.


In the next week, I will add the Furniture.

Wednesday, November 13, 2013

Wednesday, November 13, 2013


Residential Design Using Autodesk Revit / 5


Week five
In this week I used Revit to cover Interior and exterior elevations and investigated how Autodesk Revit generates elevations.


Setting up an Exterior Elevation:
I already have the main exterior elevations set, but I went through the steps to set one up because many projects have more than four exterior elevations.
First, I created a new elevation and then, rename it as “South- Main Entry ‘and adjusted it.


Modify an Exterior Elevation:
In the West exterior elevation view, I deleted tow windows and center the other remaining windows.
In the North Elevation, I added (Shutters (high-res): 18” x 48”) to the upper- left windows.
In the South Elevation, I added the same Shutters to the upper windows.


Modify the Interior Elevations:
In the living room, I moved the windows and add new door using “Single Entry 3: 32” x 84””door in the wall to the far left (North)
Setting up Design Options:
I setting an Entry Windows Design Option 2, changing the  three windows above the main entry door and change their type to “Double Hung With Trim 16” x 72
Entry Roof Design Option:  
I added an option for a roof over the entry door on the south elevation, and name it Entry Option 2.
Next week I will work with SECTIONS.

Thursday, November 7, 2013

Residential Design Using Autodesk Revit / 4


Residential Design Using Autodesk Revit / 4

Week four:

                In this week I continued using “Residential Design Using Autodesk Revit 2014” book by Daniel John Stine CSI, CDT, to drawing the Roofs, Skylights, Floor systems and Reflected Celling plans.
 
Roofs:


At first, I draw a gable roof for the second floor and a gable roof element over the main entry.  A gable is the triangular roof which allows rain and snow to run off easily.


After that I draw low roof elements for the Living Room in the first floor and the Garage.


Skylights:

I selected “Skylight 24”x 27”from type selector and placed two of them in the roof to allows light on the roof to travel to the interior of a building. Therefore, they are useful in spaces that do not receive much natural daylight.


Floor System:

I created three deferent types of floors to each level:

 
 Basement Floor

Garage Floor
First Floor


Second Floor


Ceiling System:

Using Revit’s tools for drawing reflected ceiling plan include drawing different types of ceiling systems. I sketched the ceiling profile in the ceiling plan views, similar to how draw the floor systems and added so they show up in sections. Also, I added the lighting design and coordinated it.


Next week I will set the Elevations.

Saturday, November 2, 2013

Residential Design Using Autodesk Revit / 3


Week three


In this week I draw the second floor and the basement.

Second floor
 

                The first step I draw the exterior walls using “Wood Shingle on Wood Stud”, which is thin, tapered pieces of wood primarily used to cover walls of buildings to protect them from the weather.


                Then I draw the interior walls using “4 ½” Partition”.


 After that, added the doors and openings.

                Doors come in many shapes and sizes. I used the following doors:

 
Single-Panel 4 (34”x80”
 

Bifold-4 Panel (72”x80”)

Bifold-2Panal (36”x80”)

Single-Panel 4 (30”x80”)

Opening-Elliptical Arc (34”x80”)


Also I draw the windows using “Double Hung with Trim (36”x48”) for the all.


The Basement

 Not all residences have basement. However, we can use it as a utility space for a building where such items as the boiler and water heater are located.


 A basement here is one floor of the building that is completely below the ground floor. The basement walls which I used are “Foundation-12” Concrete’ typically forms the foundation of the house.

Then I added the interior walls and the stair.
 

Next week I will draw the Roofs, Skylights and Floor system

Three-Dimensional Thinking


Behind, beside, in front, to the left, to the right are all important in the development our understanding of objects in three dimensions.
 
However, we live in a three-dimensional universe, but act as if the physical world is as flat as a worksheet or the page of a book.
 
Typically, we call our attention to numbers and letters, but we neglect to remark upon the spatial properties of the objects around us: how tall or short they are, how round or pointy, how close or far.
 

 Teaching how to think in 3D space is a great way to engage and see what and how math acts in the real world.  Though, a natural extension of drawing in two dimensions is drawing in three dimensions. In this direction, we have been using 3D printing as an aid to visualizing mathematical objects.
 
We design sculptures that help to understand the mathematics better. Also, these sculptures are attractive in their own right. Similarly, spatial thinking skills, and those skills, in turn, support achievement in subjects like science and math, such as playing with blocks and puzzles.
 

 We would do well to begin describing the world in 3D, helping to develop the habit of seeing the world in all its dimensions.
 
When thinking of 3-D, our initial thoughts ranged around planes and intersecting lines, three dimensional coordinate geometry and all sorts of 'hard and scary' maths.
 
We realized that the starting point is the language that we use to describe positional relationships of objects in space.
 
Behind, beside, in front, to the left, to the right are all important in the development of understanding of objects in three dimensions, and make the leap from 'seen' to 'imagined'.